Discussions
In requirements, test cases and test scenarios you have the possibility to discuss individual items with other users of the project.
If there is no discussion yet, you will have the option to create a new discussion below the description of your item. To start a discussion, click on 'Create new post'.

In the new discussion, you can enter a text which will be visible for all users. By clicking on Post, the post is moved into the chat.
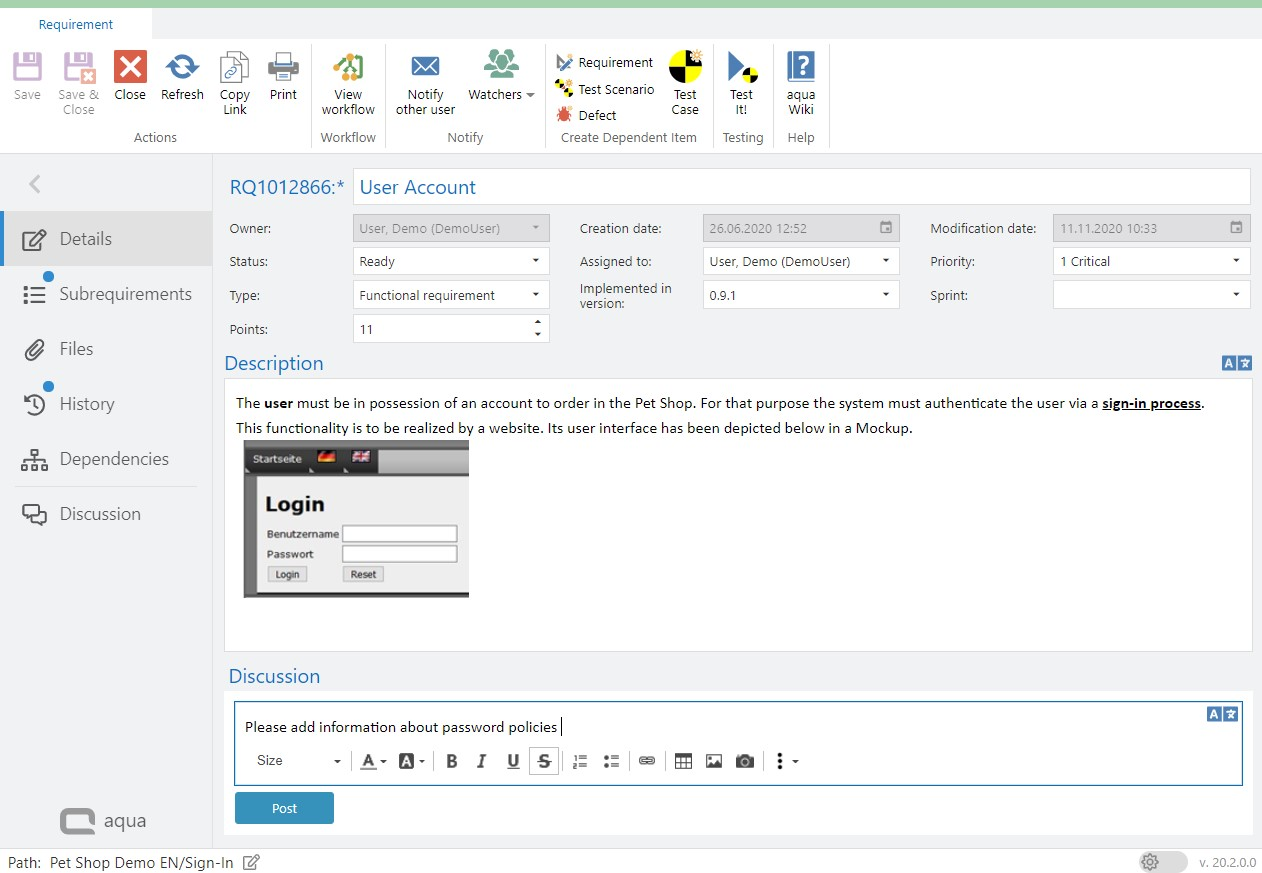
All other users can see the message. It does not matter if the item is in a locked or unlocked mode. Furthermore, you have the option to invite aqua users to the discussions. In order to do so, press @ and start typing the name of your colleague. Select the user name and press enter to confirm. The mentioned user will receive an email, telling him about the mentioning.

After you posted your text, you can still edit or delete it.
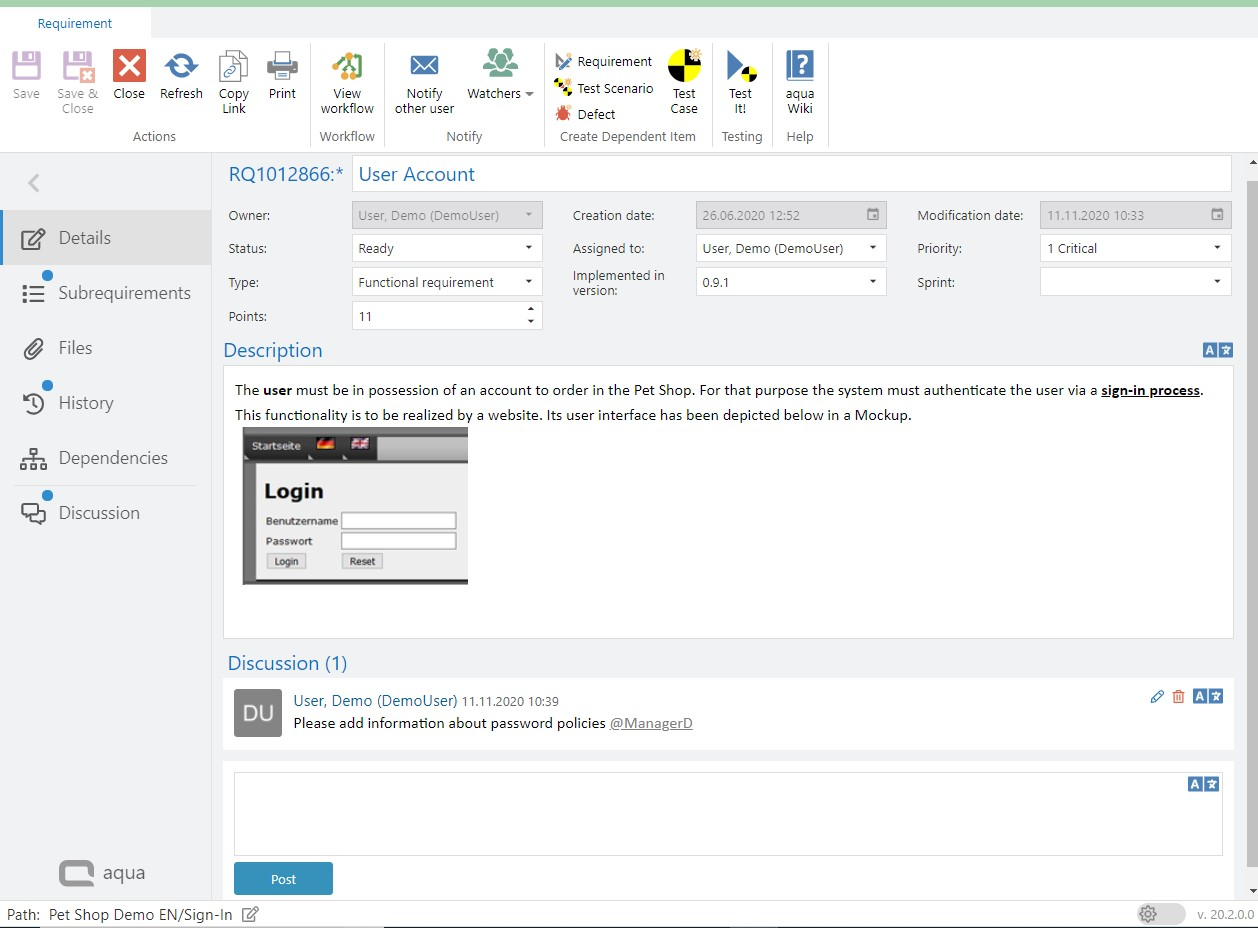
Using the Discussion tab in the navigation bar of the item, you can jump directly to the discussion area below the item description.
Related Articles
Enclosures
Using the ribbon bar of a defect, you can add Description fields, Note fields, Resolution fields or Replication Procedures to the defect. These are added below the description and are marked with a timestamp and the editor to allow discussions ...Print
In the ribbon of an open item you can use the Print button to print all information about this item. You can print the details, i.e. all fields as well as the description, the attached files, the history and dependencies. In addition, you can print ...Comments (Rich Client)
In requirements, you have the option to focus on collaborative work. The Show discussions button allows you to open a new slide where you can work in a real-time chat with other aqua users. To open that module, you have to click on that button. ...Take Screenshot
In all rich text fields, e.g. description fields of items, test steps of test cases, discussions or actual results in test case executions, you can use the Take Screenshot icon in the editor to capture your screen or parts of your screen, edit the ...Export
Using the context menu of a project or a folder, you can export all items of the selected project or folder as Excel file. In the same way, you can also use the context menu of one or more selected items to export the selected items. A zip file is ...