SoapUI (Rich Client)
First, you go into a test case and click onto Automation. Here, you can add a SoapUI Skript:
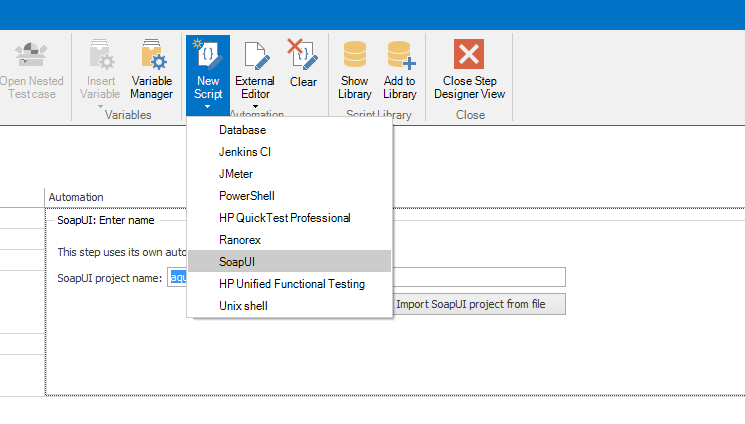
A new template is created which can be opened using the External Editor or replaced by a SoapUI project file.
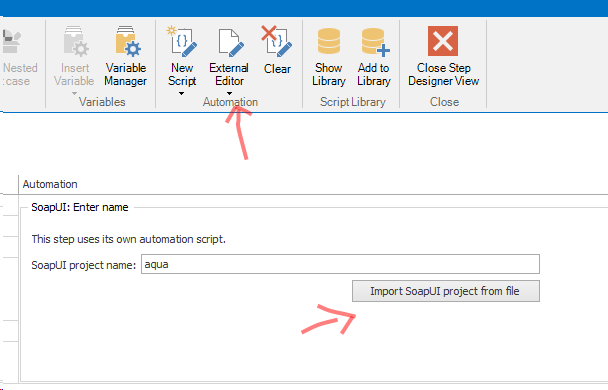
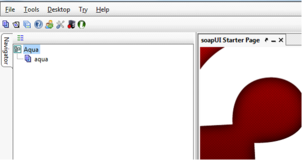
By clicking on External Editor a blank project will be opened in SoupUI. Test cases can be recorded and edited here.
To run an automated test, the test case must be executed in the same way as the manual tests. Open the test case and click on the Run button.
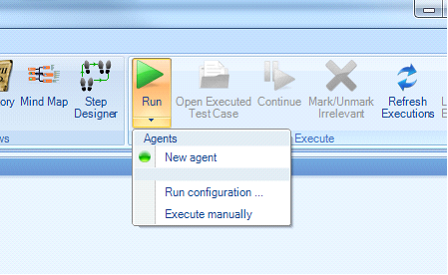
Following the run of an automated test, you can see if the test was successfully completed. In addition, you receive more information from SoapUI in the execution log by clicking on the appropriate buttons.

Parametrization
aqua offers you the option to define parameters and to transmit them to SoapUI. To do this, define a set of values in the Variable Manager of the test case.
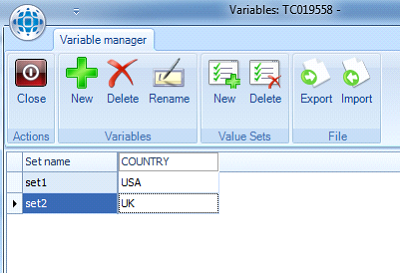
When executing this test case, a set of values valid for this version can be selected. The execution log with the selected record can be seen later.
To ensure that the values are used in SoapUI, properties must be created at top level SoapUI project. These properties must have the same identifier as the variables of the aqua-value-set.
.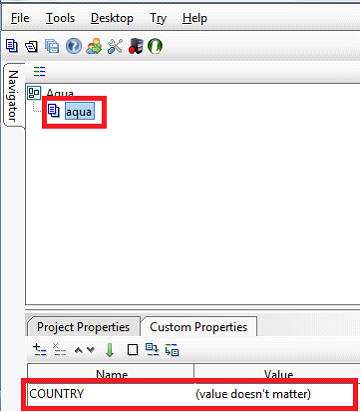
If you run the test case, these properties will be overwritten by the aqua-agent and the values will be recorded in the log.
Configure Agent
To configure and start the SoapUI Agent extract the AquaSoapUIAgent-*.zip. Here, open agent.properties and insert the agentCode and aquaServiceURL:
agentCode=pvq6wrb70huknv47ji39
aquaServiceUrl=http://youraquaserver/aquaAPI/aquaagentwebservice.asmx
updateInterval=15000
#The logging level for the execution log sent to the server
# ERRORS_ONLY : Only abnormal results are logged
# RESULTS_ONLY : Only results are logged
# DETAILED : Information on assertions, property transfers and exceptions is logged
# MESSAGE_DUMPS : Request and Response contents are logged
agentLogLevel=ERRORS_ONLY
#The path to the temp directory. The directory must exist when starting the agent.
#Please use \\ to seperate directories.
#Absolute and relative paths are allowed:
# - D:\\temp
# - temp
tempDirectory=temp
#Files in temp folder are deleted after the execution finished (true or false)
deleteTempFiles=true
proxyHost=
proxyPort=
proxyUsername=
proxyPassword=
Then, open the file agent.bat using the editor and edit the line
if .%SOAPUIPATH% == . set SOAPUIPATH=c:\Program Files\SmartBear\soapUI-4.5.1
with your current version. Your agent can now be started with starting agent.bat
Related Articles
Web Client vs Rich Client
Feature Additional Info WebClient Rich Client Homescreen x x Configurable Only on premise x User administration x x Roles x x Creation x x Project x x Usage statistics x SAML 2.0 x Project configuration x x Fields x x ...Rich Client
System Requirements – aqua Rich Client Minimum software and hardware requirements are: Intel Core Duo 2x2Ghz, AMD Duo Core Processor 2x2Ghz or more 4 GB RAM or more 1 GB free hard disk space Windows 10, Windows 8.1, Windows 8, Windows 7 Microsoft ...Step Designer (Rich Client)
The step designer allows to create steps and conditions to create manual test steps and to extend it with automated tests. A default test condition and a test step are available. Conditions have an instruction field that can be specified, ...Jenkins Integration (Rich Client)
For interactions between aqua and Jenkins, the famous open source tool for continuous integration, andagon has developed a plugin that can be installed on Jenkins and which allows you to trigger Jenkins jobs from aqua and vice versa, that is, to ...Clearing Cache Manually (Rich Client)
Sometimes, it is helpful to clear the aqua Client's cache manually. You can do this inside aqua via Options menu. Alternatively, close aqua and navigate to the following path: %localAppData%\andagon_GmbH Please delete all files and sub-folders.