Web Client Installation
In order to install the aqua web client you need the following file:
aquaWebNG-"your version"-Installer.exe
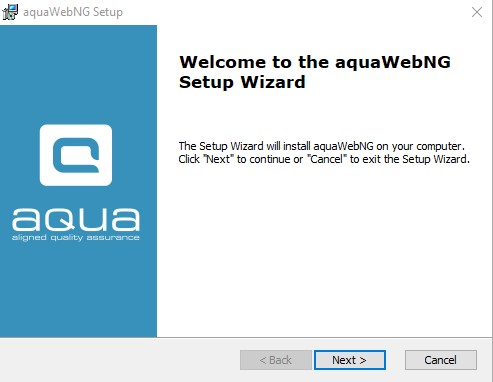
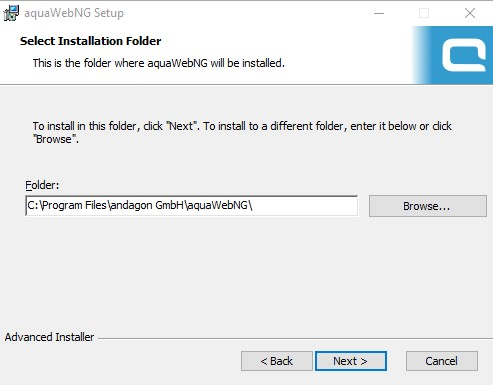
To start the installation double-click the file and click next:
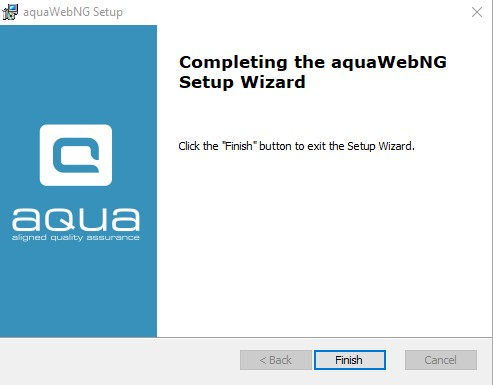
After the installation a link to the web client will be available on the aqua landing page.
You can also directly visit the web client by going to "http(s)://<<yourAquaServerURLorIP>/aquaWebNG".
Related Articles
Web Client
Web Client can be installed on the same server as aqua server. If you intend to install aqua Web Client on a different machine, please follow the minimum system requirements as given below: Windows Server 2016, Windows Server 2019 or Windows Server ...Updating Web-Client
If you have installed the Web-Client, please run the installer contained in your update package: aquaWebNG-"your version"-Installer.exe Caution: Please note that the version of the aqua web client must always match the version of the aqua server.Email Notification - Web Client links
When you are working with the aqua web client, you can configure Email notifications, just as in the rich client. The links to the items are not per default leading to the web client. To change this, you can add the following link to your template: ...Web Client vs Rich Client
Feature Additional Info WebClient Rich Client Homescreen x x Configurable Only on premise x User administration x x Roles x x Creation x x Project x x Usage statistics x SAML 2.0 x Project configuration x x Fields x x ...Installation
Stop Server First open the IIS-Manager on Microsoft Server. Click on 'aquaAPIPool' and stop it with the button on the right side first. After that please stop 'aquaFileServerPool', 'aquaWebservicePool' and 'aquaWebNGAppPool'. Your Server is ...